Setting Up Categories
Map the category fields from your connected data sources into Planir's standardized category slots so you can slice and analyze your data consistently across companies and reports.
Why this matters
Different accounting systems use different names for the same underlying concept what Xero calls a "Tracking Category," your Excel upload might call a "Department," and another company file might call a "Cost Center." Categories in Planir give you five standardized slots (C1–C5) that any source-system field can map into. Once mapped, your dashboards, reports, KPIs, and AI insights can group and compare data using the same category labels regardless of where the data came from.
When to use this
- Right after connecting a new Xero organization with tracking categories enabled
- After uploading Excel data that included Category columns
- When you want to rename or relabel an existing category mapping
- When you want to align categories across multiple companies in your workspace
Before You Start
Make sure you have:
- A connected data source that exposes categories
- A clear view of how you want each source field to be grouped under Planir's five slots
Which sources expose categories?
- Xero — exposes your Tracking Categories
- Excel Upload — exposes the up-to-five Category columns you mapped during upload
- QuickBooks — does not expose categories; data is loaded at the account level only
- Synergix — does not expose categories; data is loaded at the account level only
If your only connected source is QuickBooks or Synergix, the Categories page will show 0/0 mapped and there's nothing to configure here.
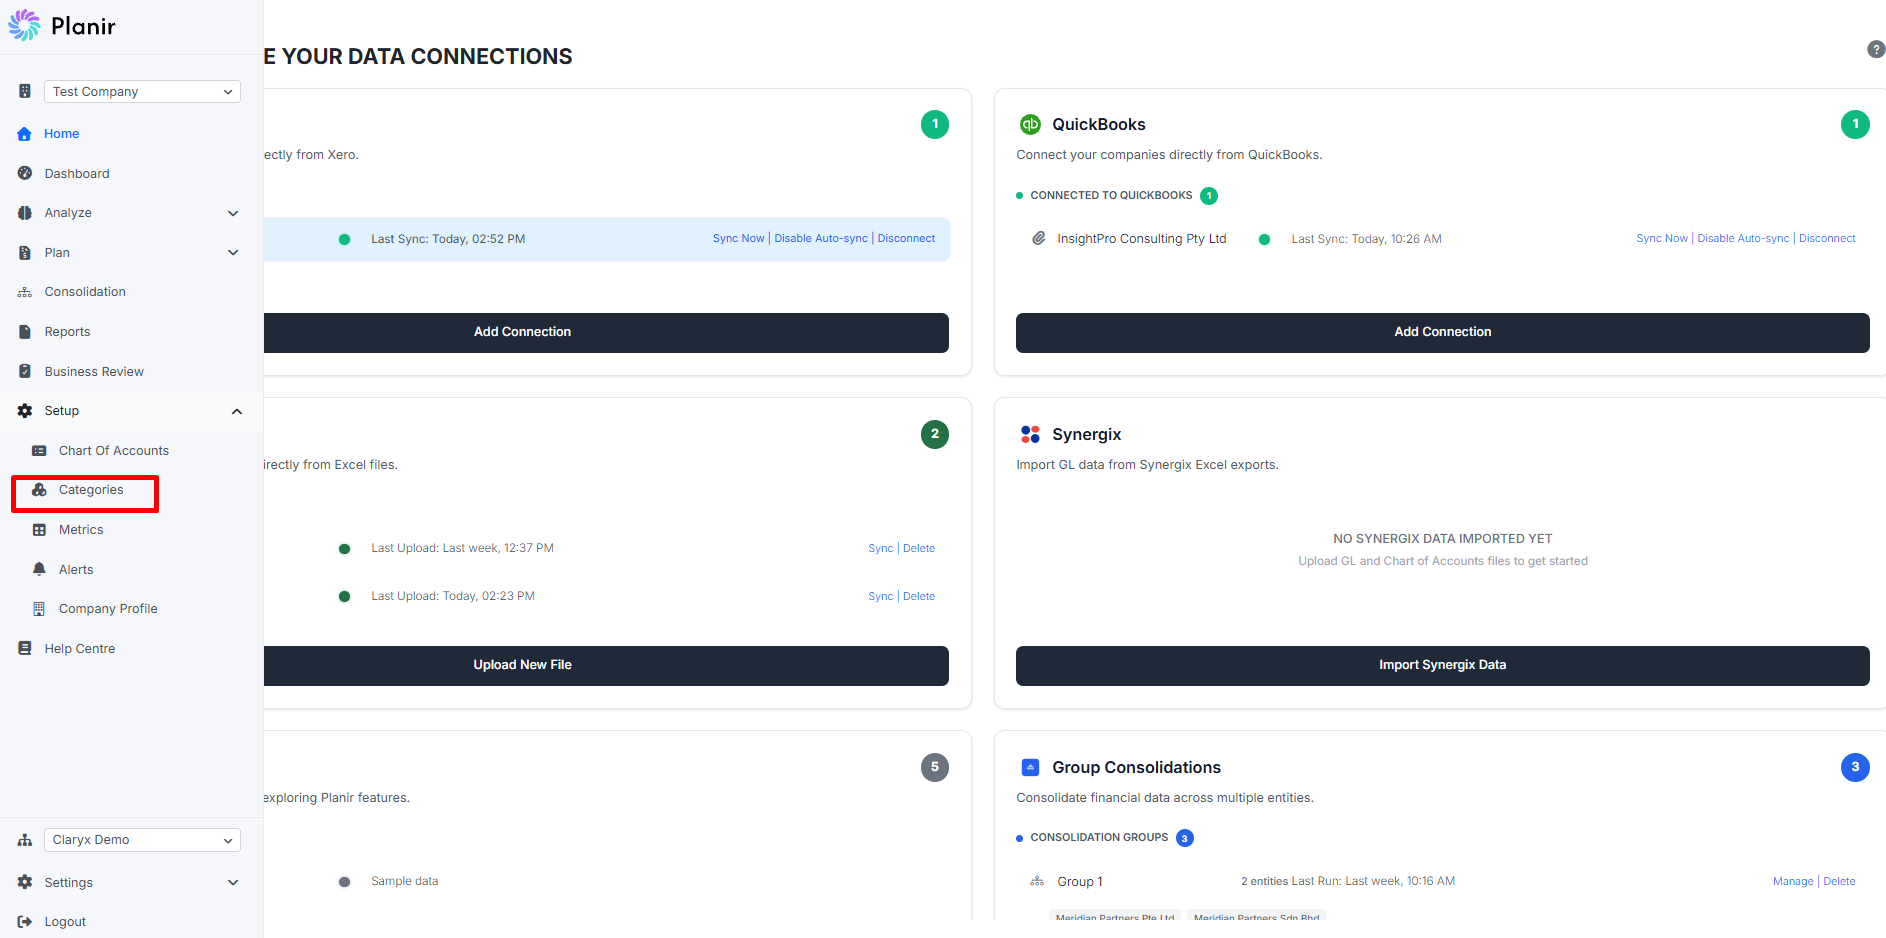
Step 1. Open the Categories Page
- From the sidebar, expand Setup.
- Click Categories.
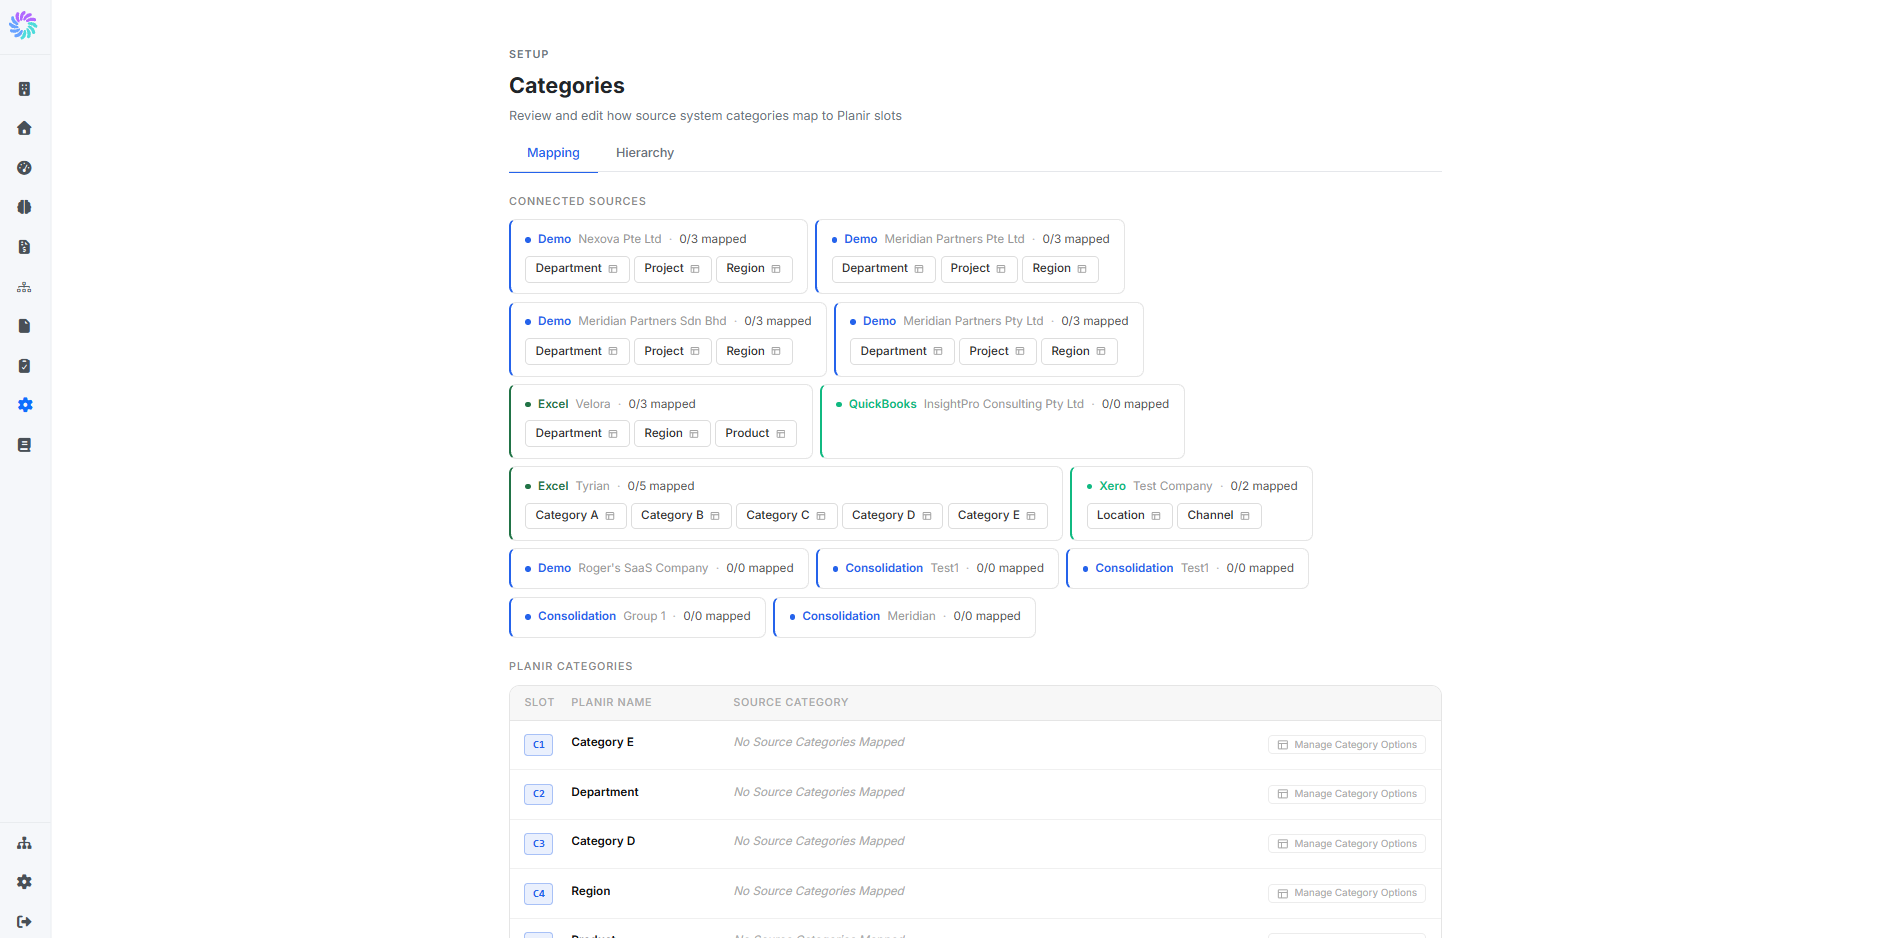
The Category Management page opens with two tabs: Mapping and Hierarchy.
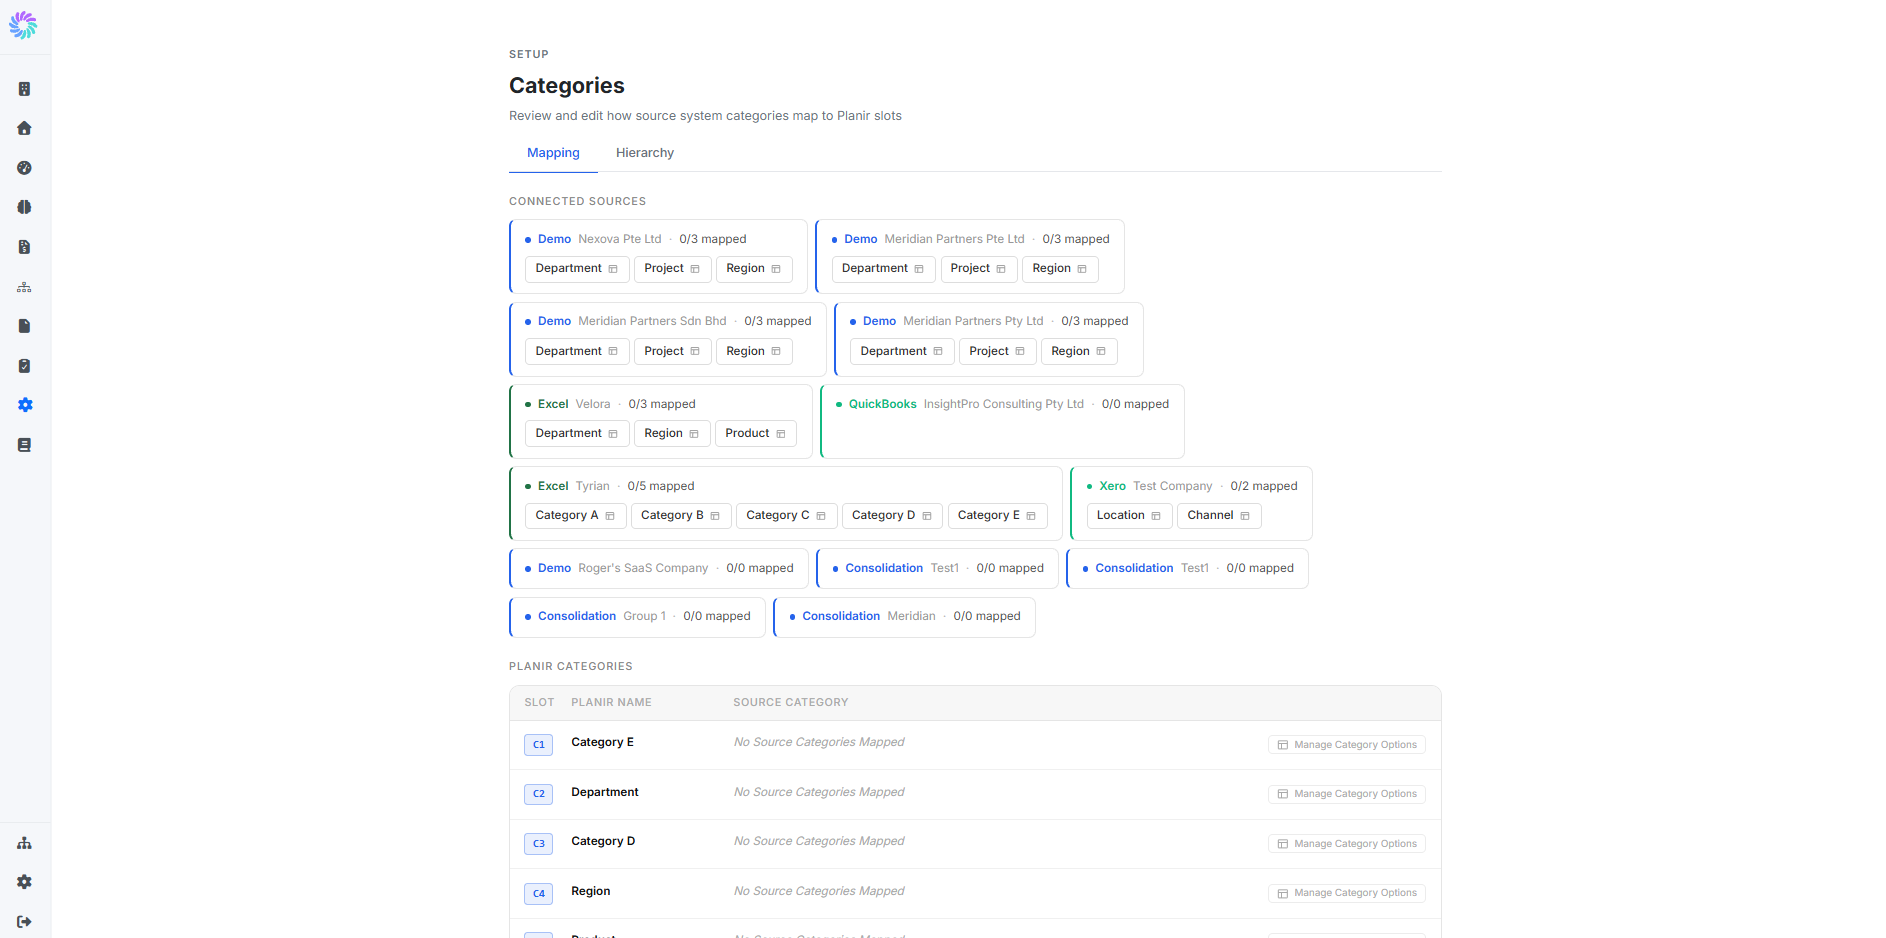
Step 2. Review Your Connected Sources
The Mapping tab is split into two sections:
- Connected Sources at the top — every source connected to your workspace, with a count of how many of its categories have been mapped. Each source's available category fields appear as draggable chips beneath its name.
- Planir Categories at the bottom — five standardized slots labeled C1 through C5, each waiting for one or more source categories to be mapped in.
Step 3. Map Source Categories to Planir Slots
- In the Connected Sources area, find the category chip you want to map (for example,
Departmentfrom Excel orChannelfrom Xero). - Drag the chip down onto the Planir category row you want it to sit under.
- Repeat for every category you want to bring into Planir. You can map multiple source categories to the same Planir slot (for example, Department from Excel and Channel from Xero can both feed into the same slot if they represent equivalent concepts in your reporting).
As you map, the count next to each source updates (e.g., 0/3 mapped becomes 3/3 mapped).
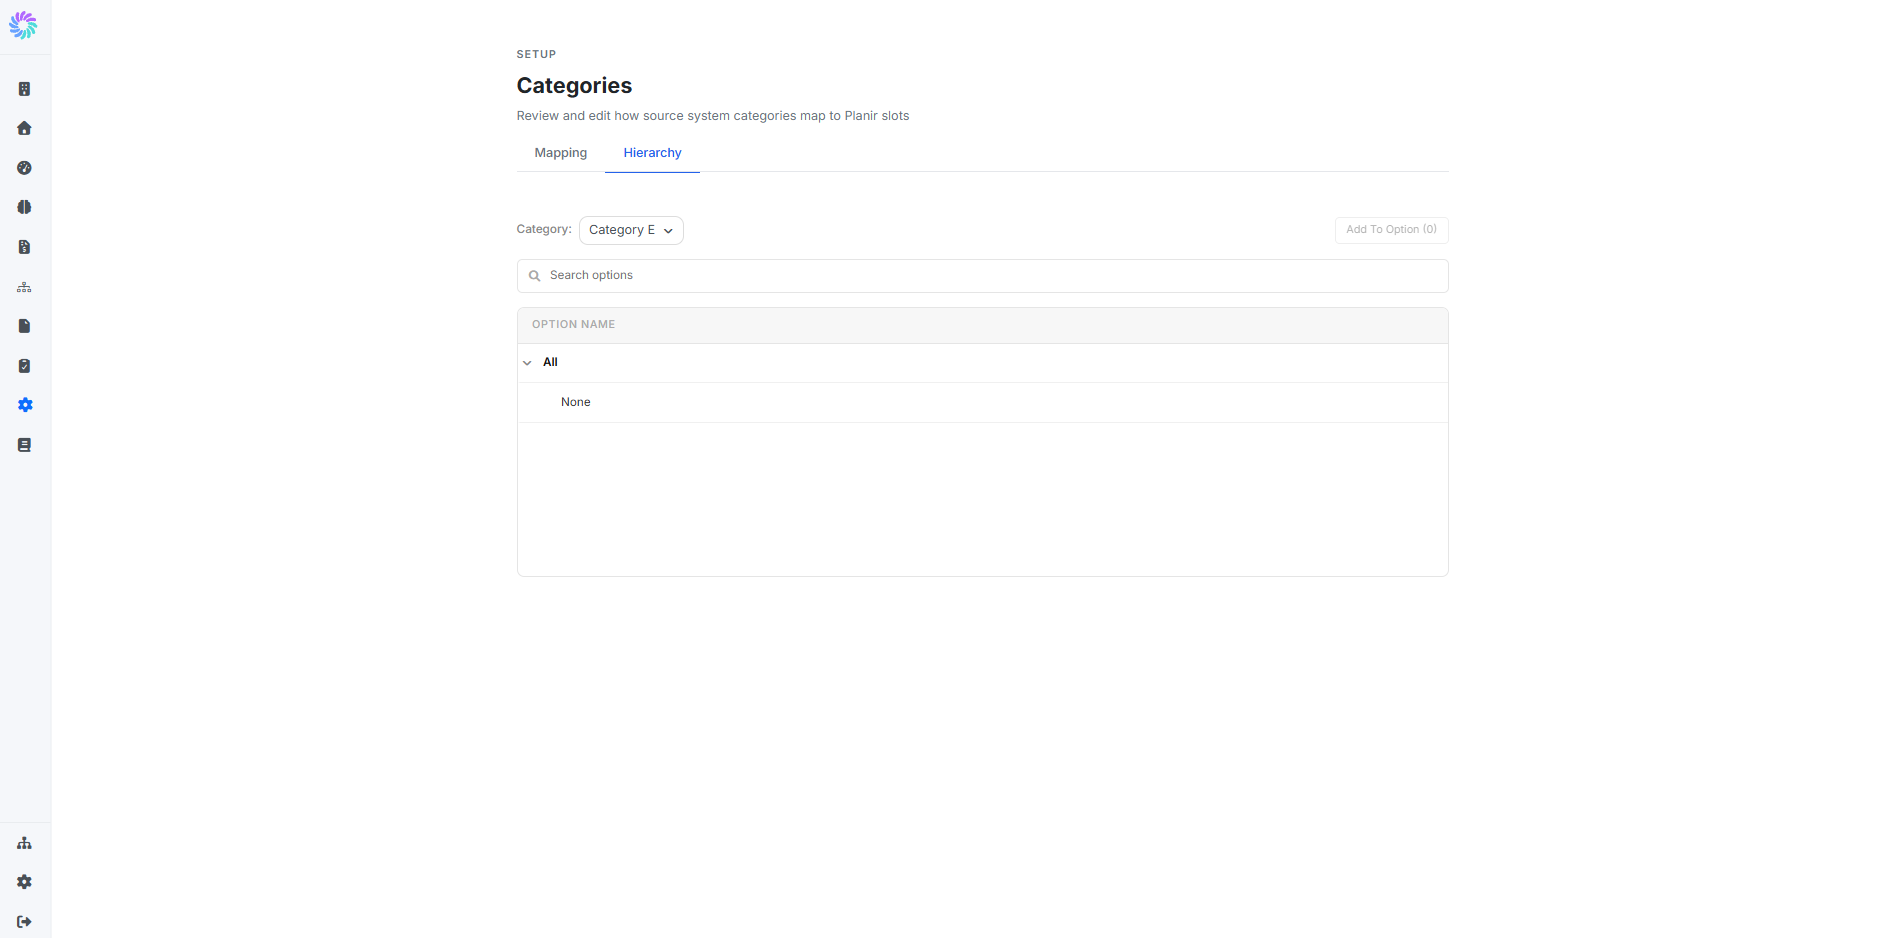
Step 4. (Optional) Configure Option-Level Mappings
Some categories need more than just a slot mapping for example, you might want to group several department options into one parent department for reporting, or align differently-named options across sources.
- Open the Hierarchy tab.
- Use the Category dropdown to select the Planir slot you want to configure (e.g., Category D).
- The Option Name list shows every option found in the mapped source categories.
- Use Add To Option to group, rename, or restructure the options into a hierarchy that matches how you want to report.
Step 5. Verify Your Mappings
After mapping, return to the Mapping tab and check:
- Every source you care about shows its expected
X/X mappedcount in green - Each Planir slot you intend to use has at least one source category mapped to it
- Slots you don't plan to use can be left empty they simply won't appear in your dashboards or reports
Your category setup is now live. Reports, dashboards, and AI insights will start grouping data by these slots from your next view.
Managing Your Categories
Remove a mapping
To unmap a category from a slot, click the table icon next to the mapped chip and remove it. The source's mapped count will drop accordingly.
Re-map to a different slot
To move a category to a different Planir slot, remove the existing mapping and drag the chip into the new row.
Add a newly connected source
When you connect a new Xero organization or upload a new Excel file, its categories automatically appear in Connected Sources. Drag them into your existing Planir slots so the new company shares the same category structure as your other companies.
Configure option-level rules
Use the Hierarchy tab any time you need to clean up, group, or rename individual options within a mapped category.